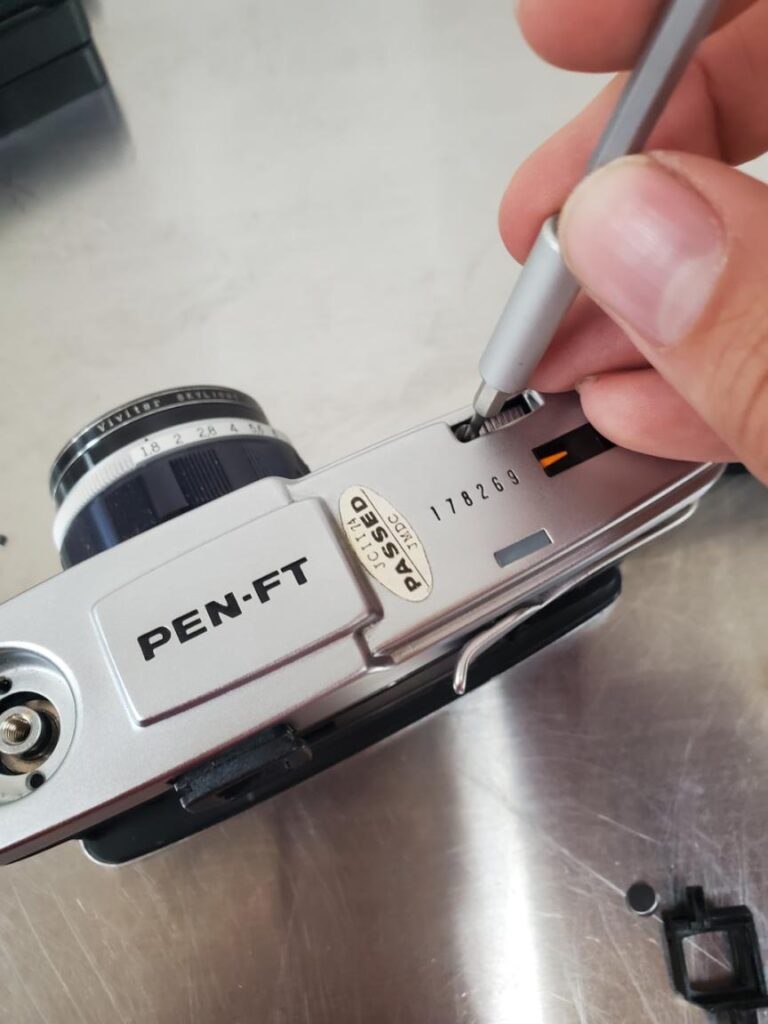
This guide is just for reference and should not be taken as Gospel! I have no formal experience and these cameras are expensive, so be careful and make sure you know what you’re doing before you start. I tried to make this guide as complete as possible, but I’m not responsible for any damage to your camera.
- Gather tools:
- A set of jeweler’s screwdrivers. A multi-bit driver set should work too, as long as it has small enough flathead and phillips bits.
- Someplace to keep teeny tiny screws, maybe a small bowl or a magnetic parts tray.
- A rubber band (this is a surprise tool that will help us later)
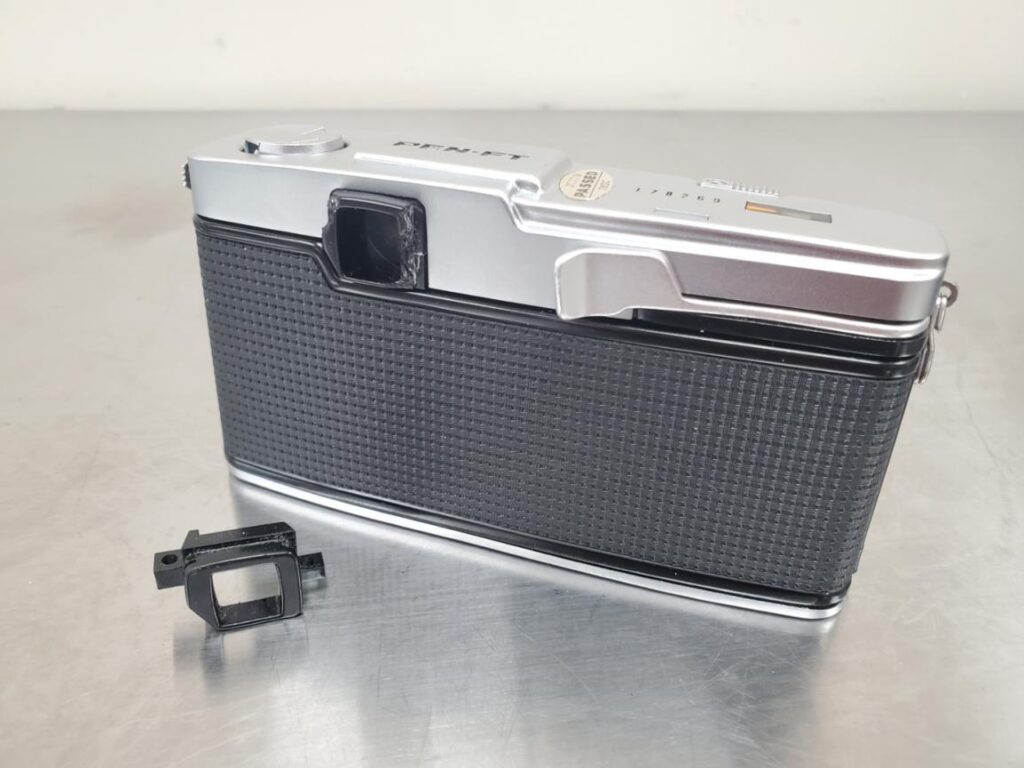
2. Remove the film rewinding crank. This can be done by holding the lower part with some kind of rod, and unscrewing the top part.
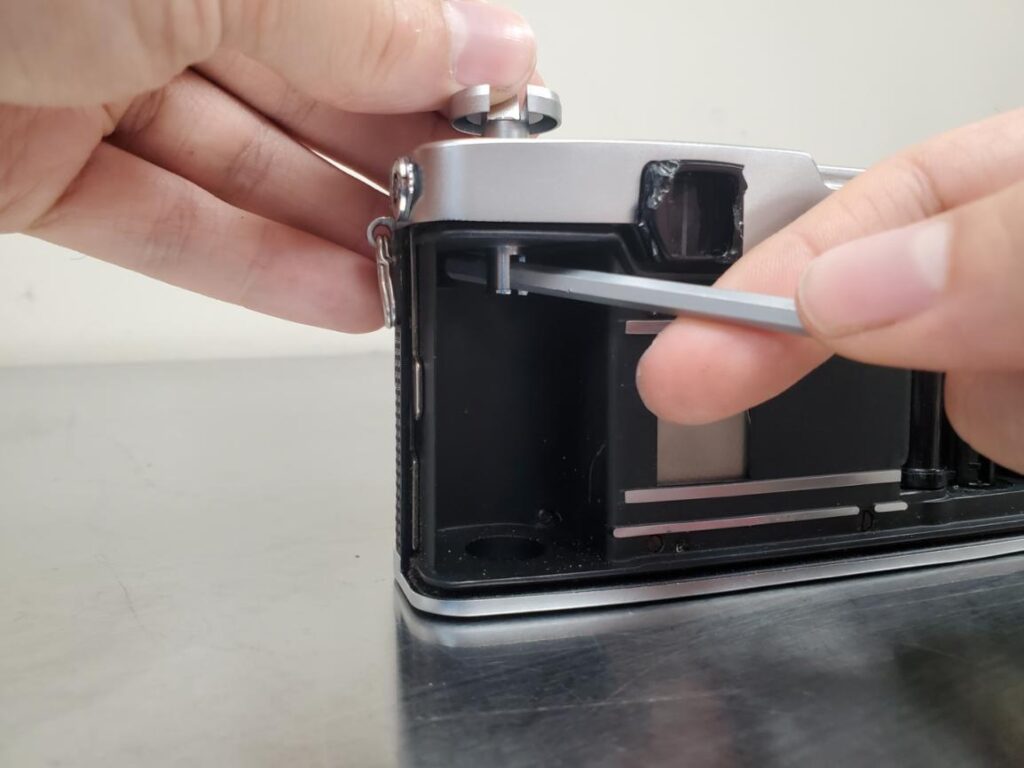
3. Remove the two screws under the crank.
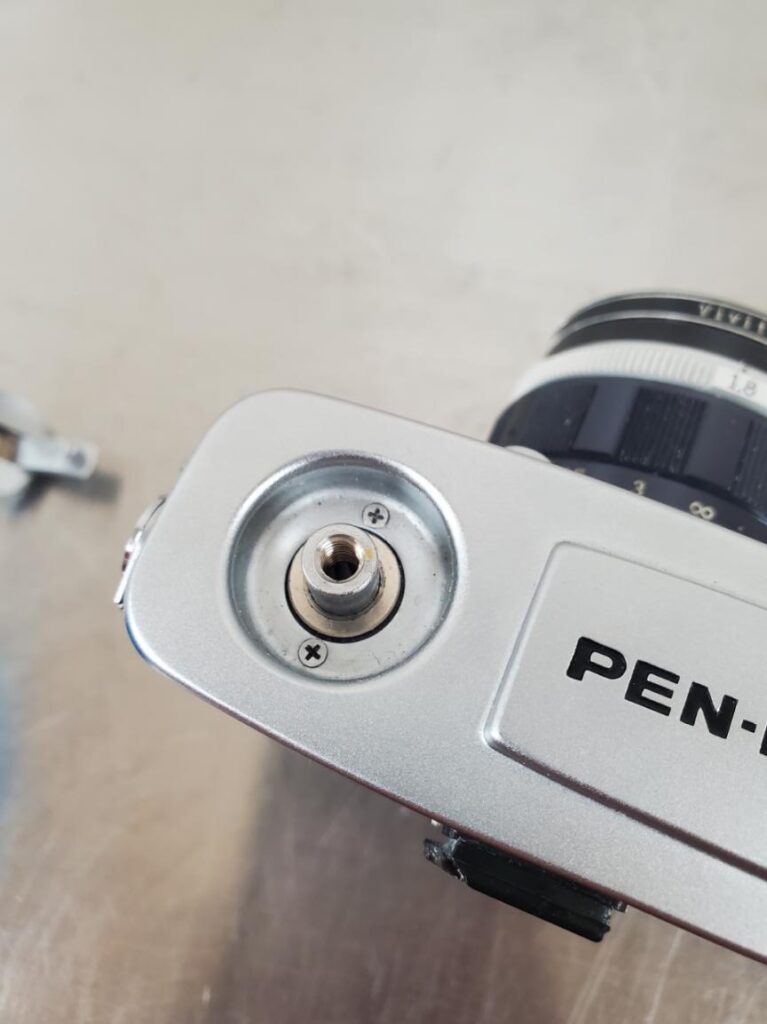
4. There’s a sneaky screw under the advance lever. Remove it while you hold the lever with your other hand.
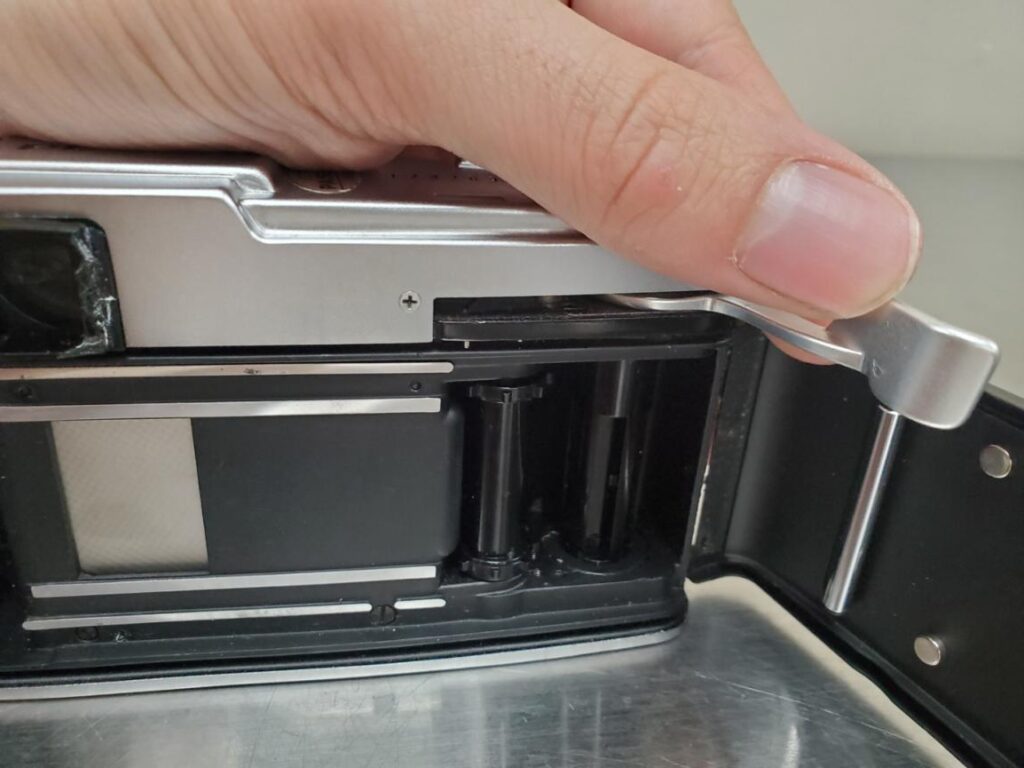
5. Here’s where that rubber band comes in. This round cover on the self timer is a screw, and a rubber band should give you enough grip to unscrew it.
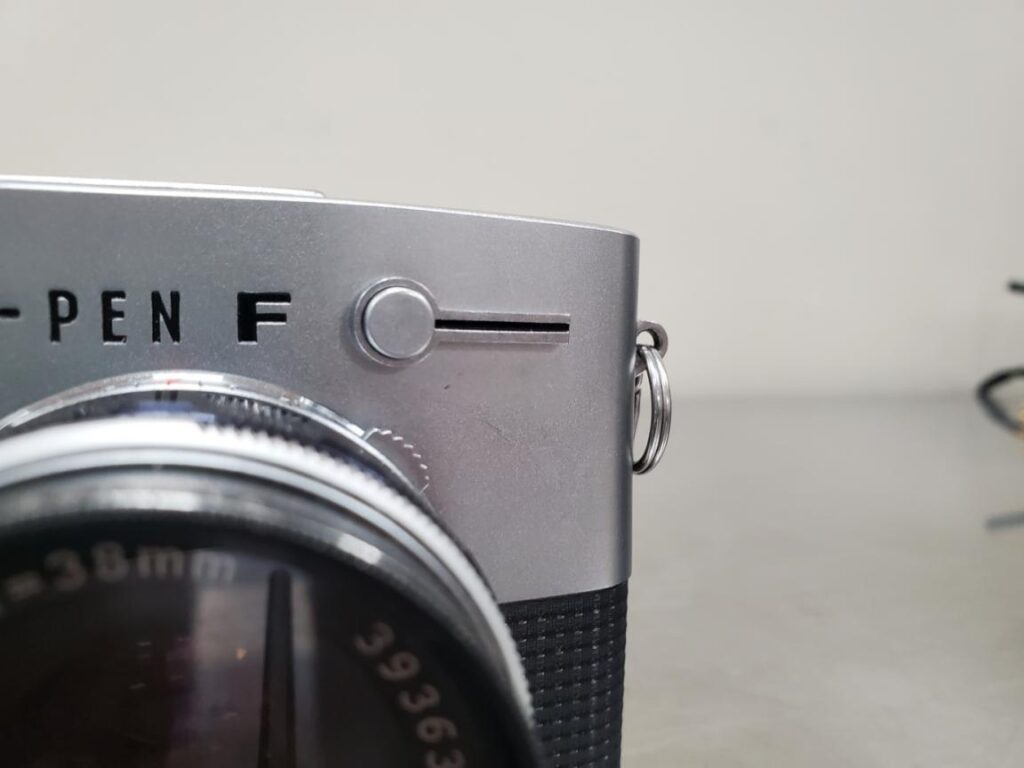
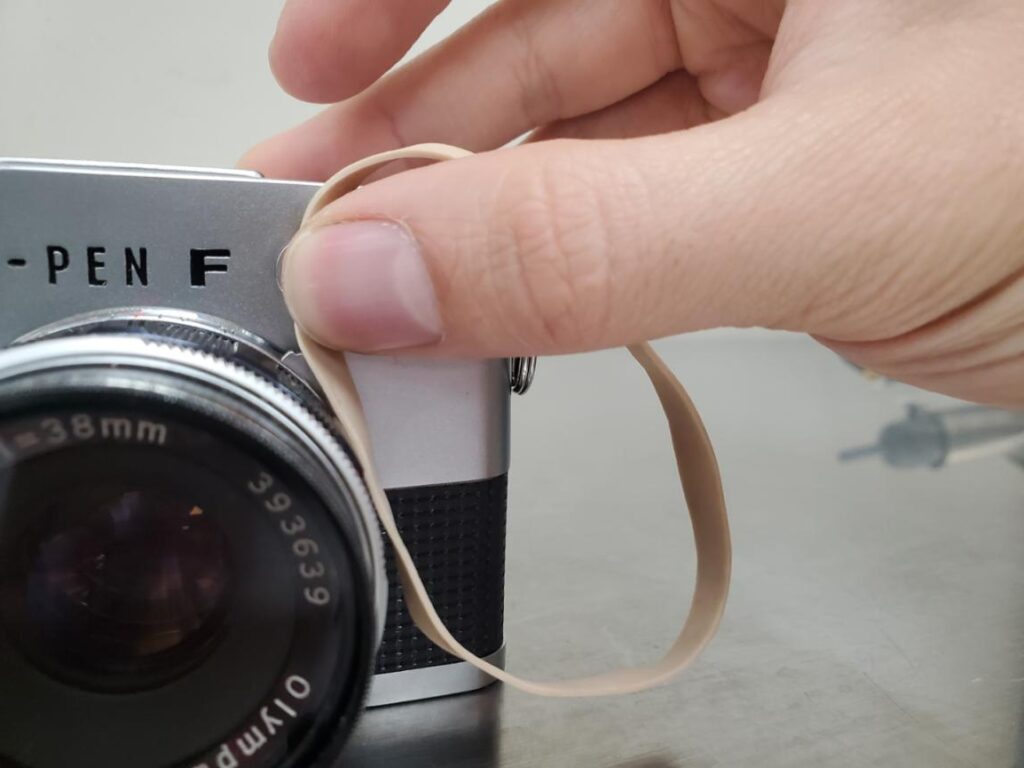
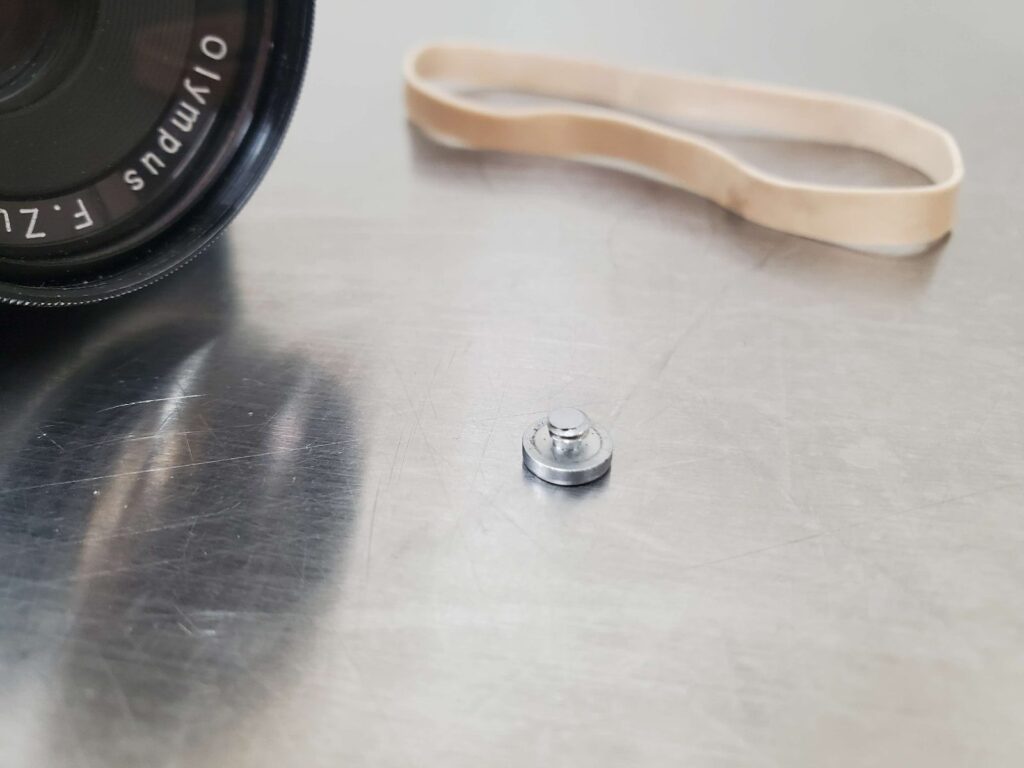
6. There’s a flathead screw inside the lever. THIS IS A REVERSE THREADED SCREW! So lefty tighty righty loosey. If you try to unscrew it the normal way, you’ll probably strip it, so be gentle until you’re sure you’re turning it the correct direction. After you get the screw loosened, you should be able to remove the lever from the camera.
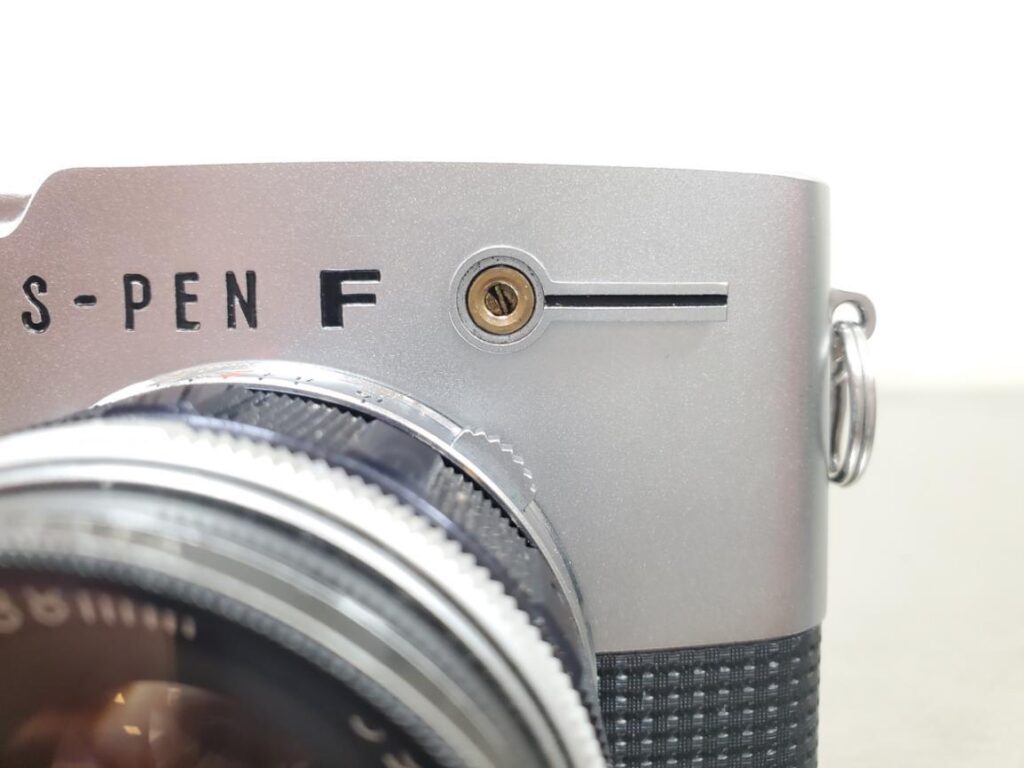
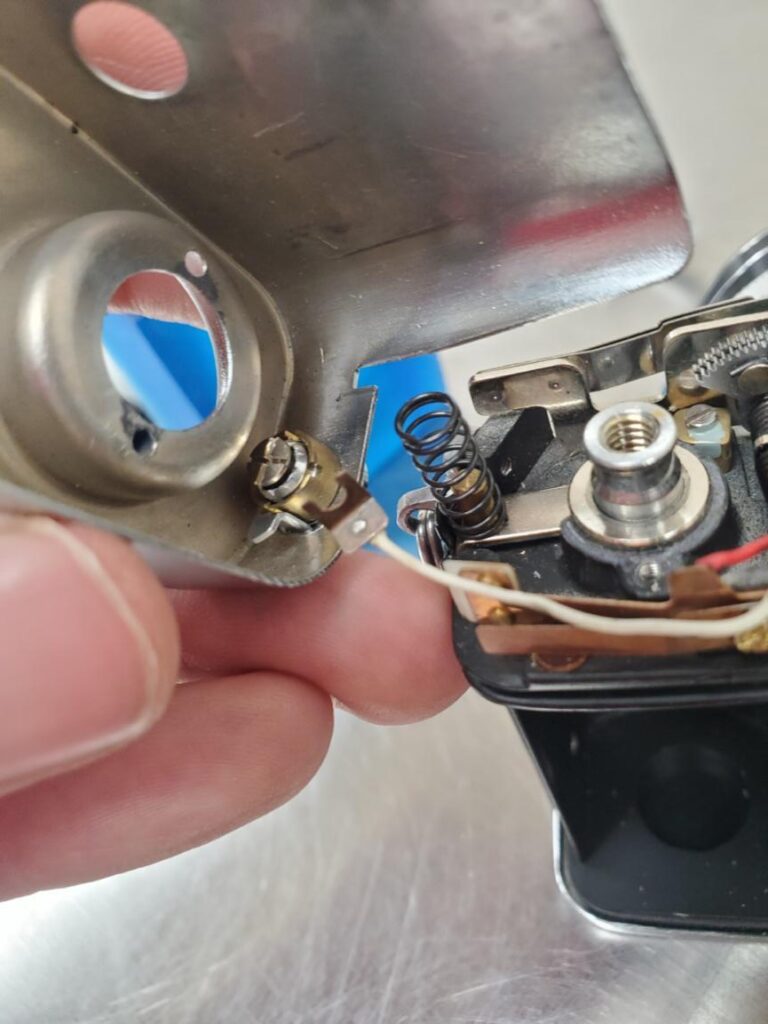
7. Now you can gently shimmy the top off. Be careful of this wire for the flash control next to the film rewind crank. Loosening the screw worked best for me with a flathead screwdriver. It doesn’t have to come all the way out to get the wire loose.
8. Now all that’s left are these two screws holding the eyepiece in.
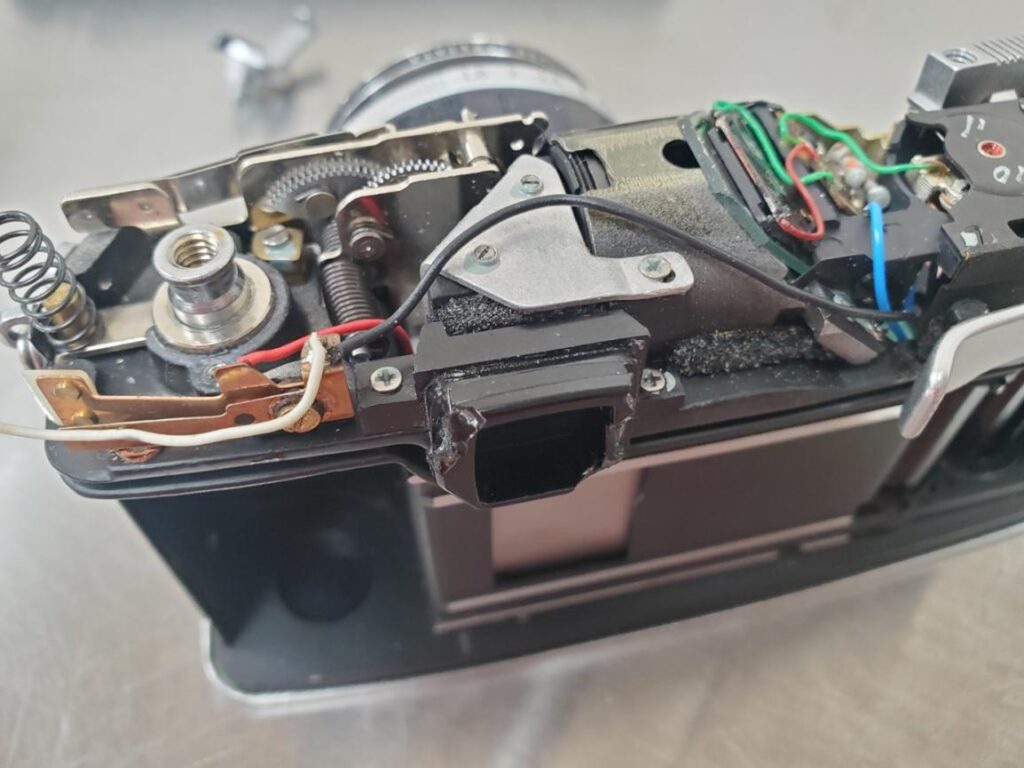
9. Reassembly should be straightforward, but make sure this spring goes back here:
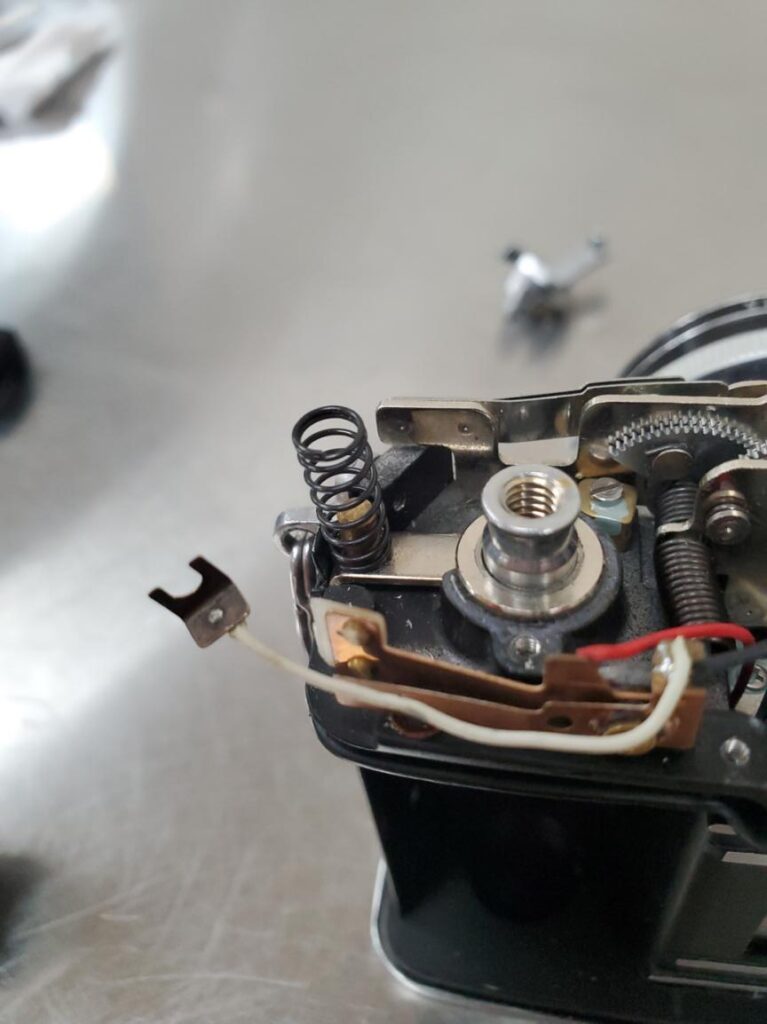
And that the shutter button goes back here:
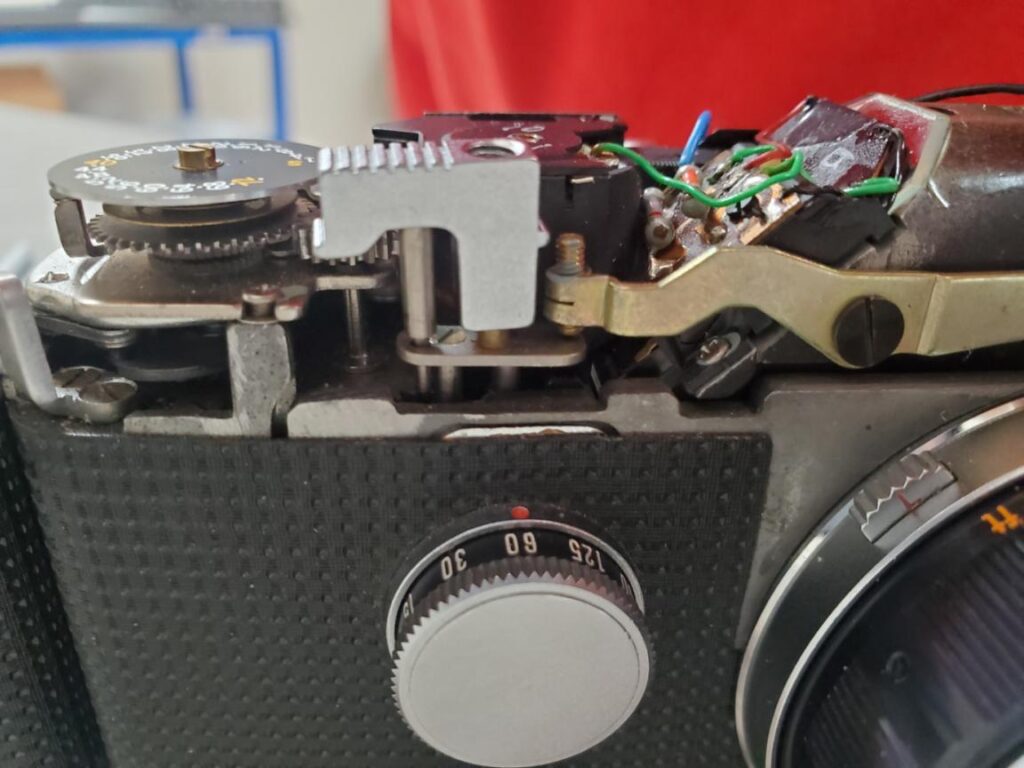
A screwdriver or something else pokey may help align the shutter button as you slide the cover back on. This part is fiddly, but it’s smooth sailing after this.
